


So Finally an easy rooting method is available for Xperia L
(C2104/C2105) Jelly Bean [Build 15.0.A.1.31/15.0.A.1.36] . Thanks to DooMLoRD for the root method.
To root the latest Jelly Bean 4.2.2 Build 15.3.A.0.26, READ THIS.
Disclaimer : I am not responsible if you brick your phone or if u make any other damage to your phone
To root the latest Jelly Bean 4.2.2 Build 15.3.A.0.26, READ THIS.
Disclaimer : I am not responsible if you brick your phone or if u make any other damage to your phone
So Lets Start :
1. First of all make sure, your Build number is 15.0.A.1.31 OR 15.0.A.1.36 . Go to Settings > About phone to verify this
2. Download This File - DooMLoRD_Easy-Rooting-Toolkit_v17_perf-event-exploit and extract it completely using WinRAR or WinZip.
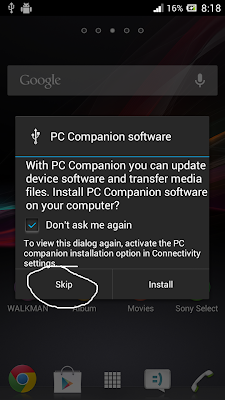
3. Enable USB debugging from Settings > Developer Options.
4. Enable Unknown sources from Settings > Security
5. [Optional] Increase screen timeout to 10 minutes
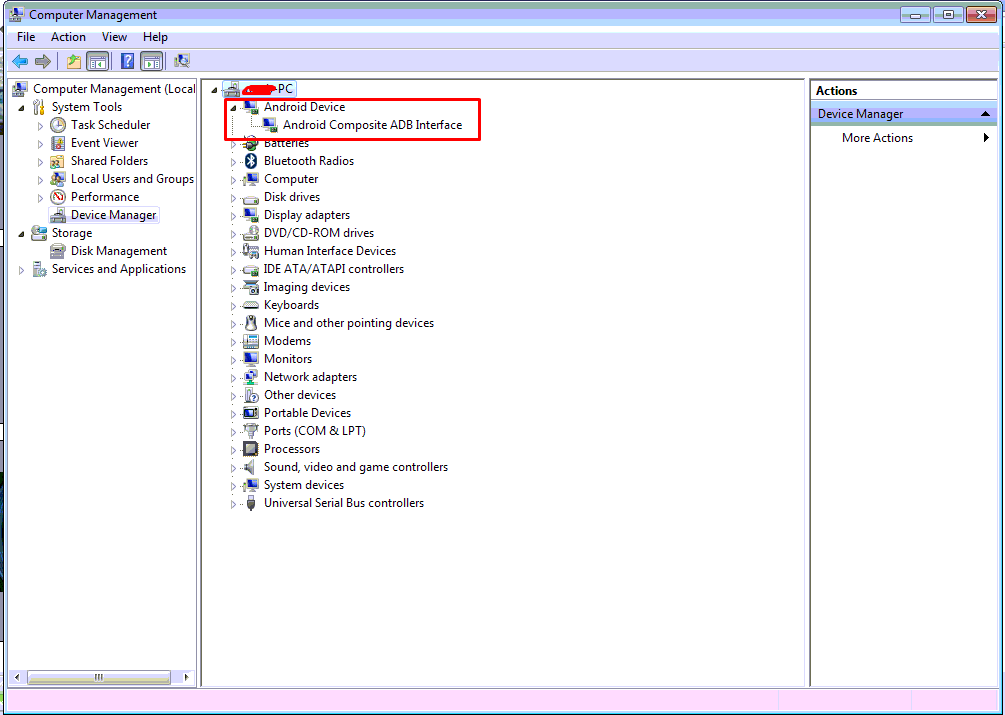
6. Connect USB Cable to phone , then connect it to your Computer.
7. Now go to the Folder where you extracted the downloaded file from Step 2, and execute "runme_win.bat"
Note :- This toolkit works on Windows , Linux as well as MAC , Linux users Run "runme_linux.sh" and MAC users Run "runme_mac.sh".
8. Read and Follow the instructions on the screen!
9. REBOOT THE DEVICE AFTER THE SCRIPT HAS FINISHED EXECUTION!!!
Note : This method works on both locked and unlocked bootloader devices!!!
If you have any problems feel free to comment :)
Source - XDA


.png)
.png)


